I wanted to take a closer look at Famicom-style pixel art, so I decided to actually play some games using an emulator on my Mac.
I’m using an emulator called RetroArch to run Super Mario Bros.

By the way, the ROM I’m using was dumped from an actual cartridge using a device called Retro Dumper.

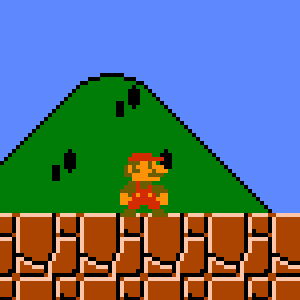
I launched the game and took a screenshot—then zoomed in to take a closer look…
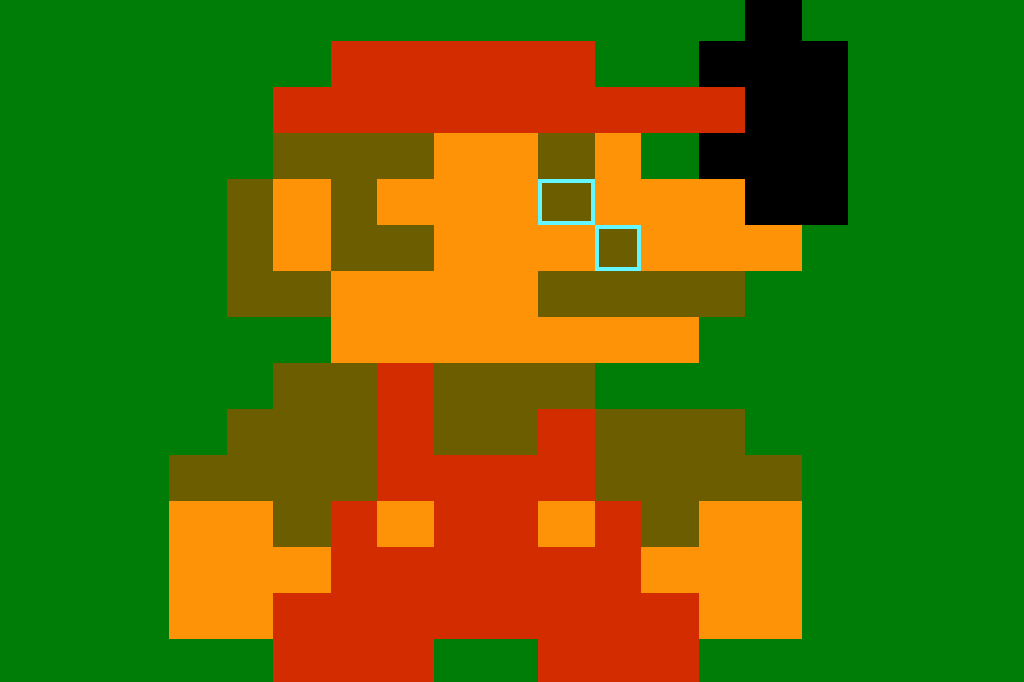
Hmm… the pixel sizes are inconsistent.
So, I decided to tweak some settings:
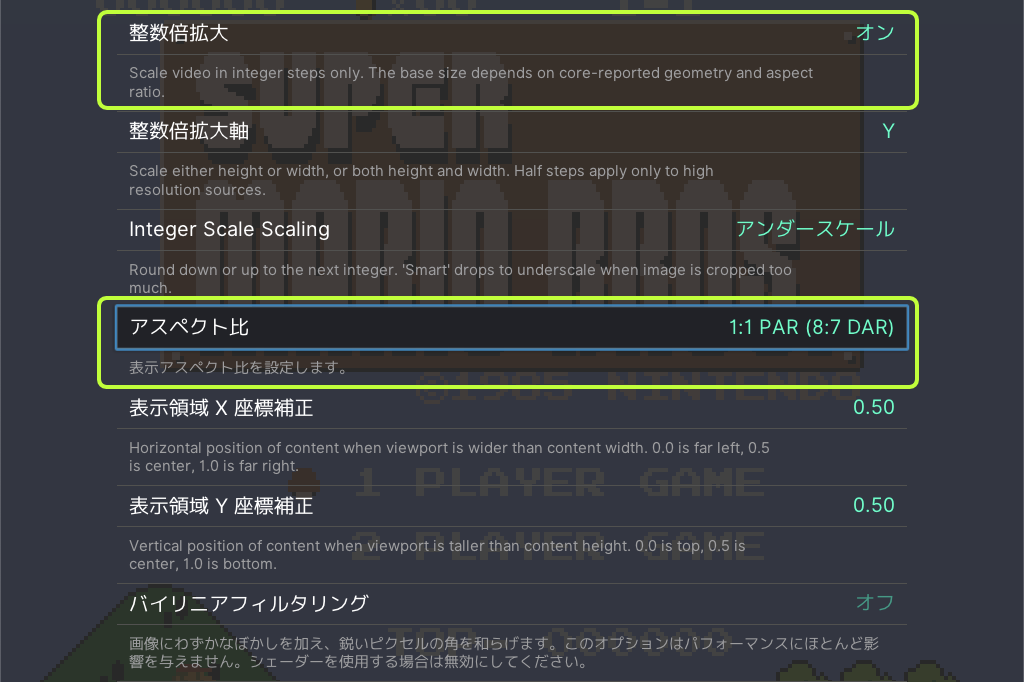
Go to
Settings > Video > Scaling
and turn on “Integer Scale”, and set “Aspect Ratio” to 1:1 PAR (8:7 DAR).
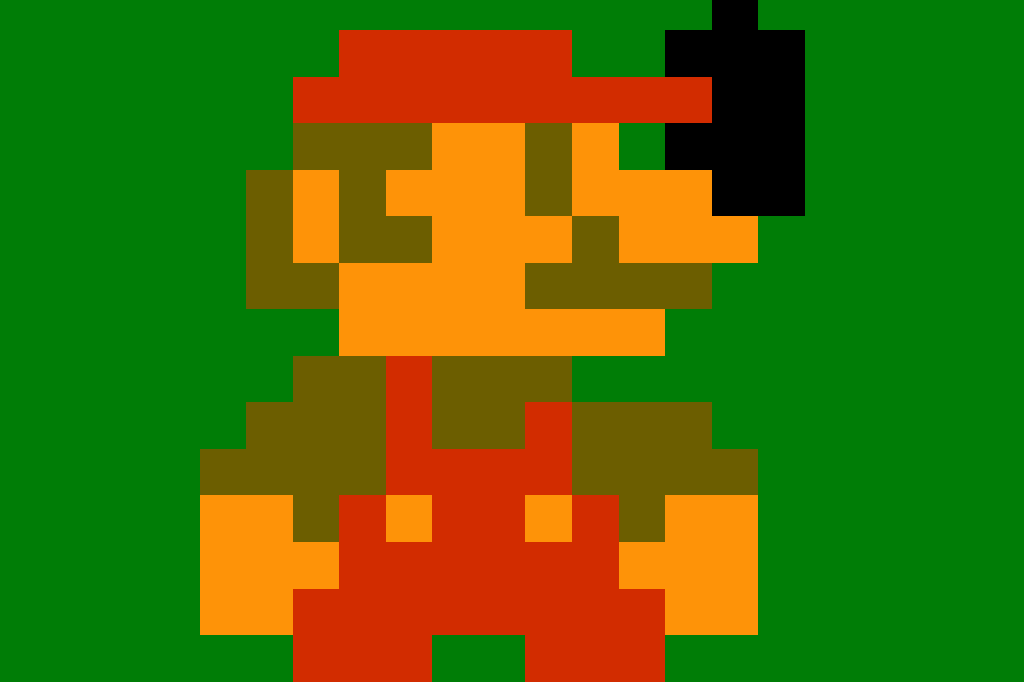
After changing the settings, Mario looks slimmer and cleaner. All the pixels are now the same size. This is what’s called pixel-perfect rendering.
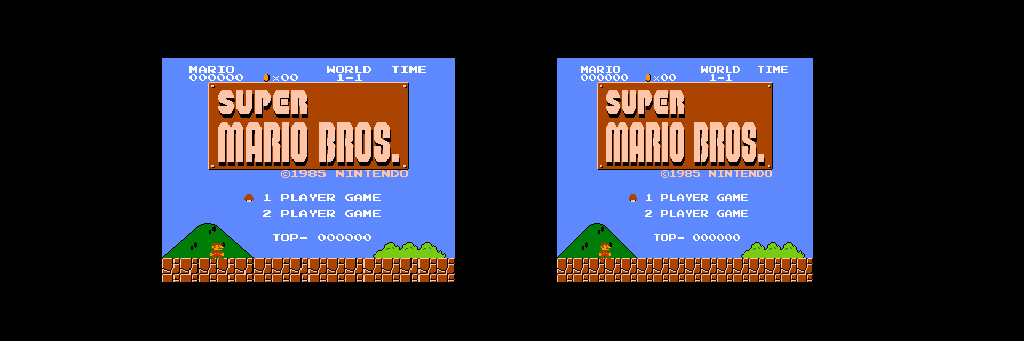
Here’s a comparison of full screenshots—before (left) and after (right) the setting change. The left one looks more familiar, but the right one has accurate, uniform pixel dimensions.
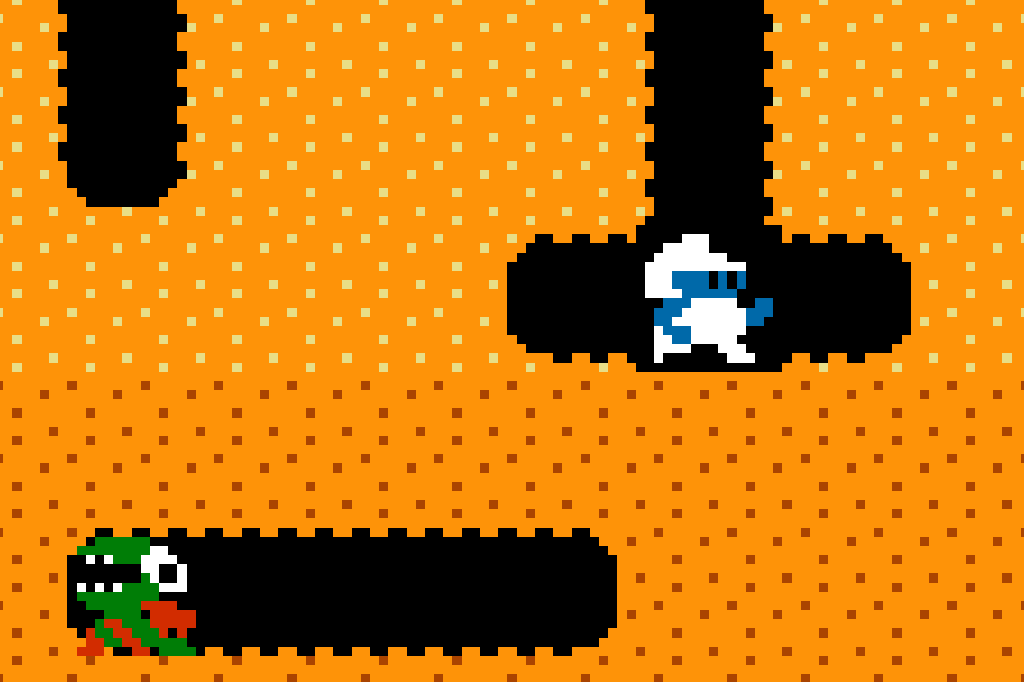
I tested it with Dig Dug as well. All the pixels are now perfect squares—beautiful!
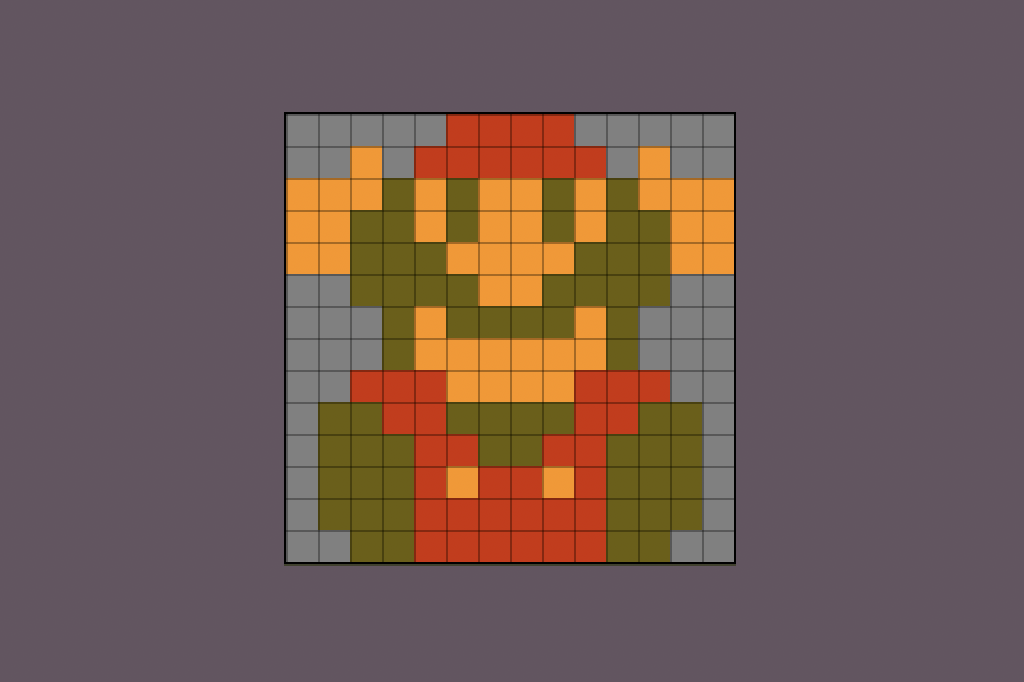
I took a screenshot with Window Scale set to 1x, trimmed the edges in a paint app, then opened it in Aseprite. Now I can study the pixel art in detail, pixel by pixel.